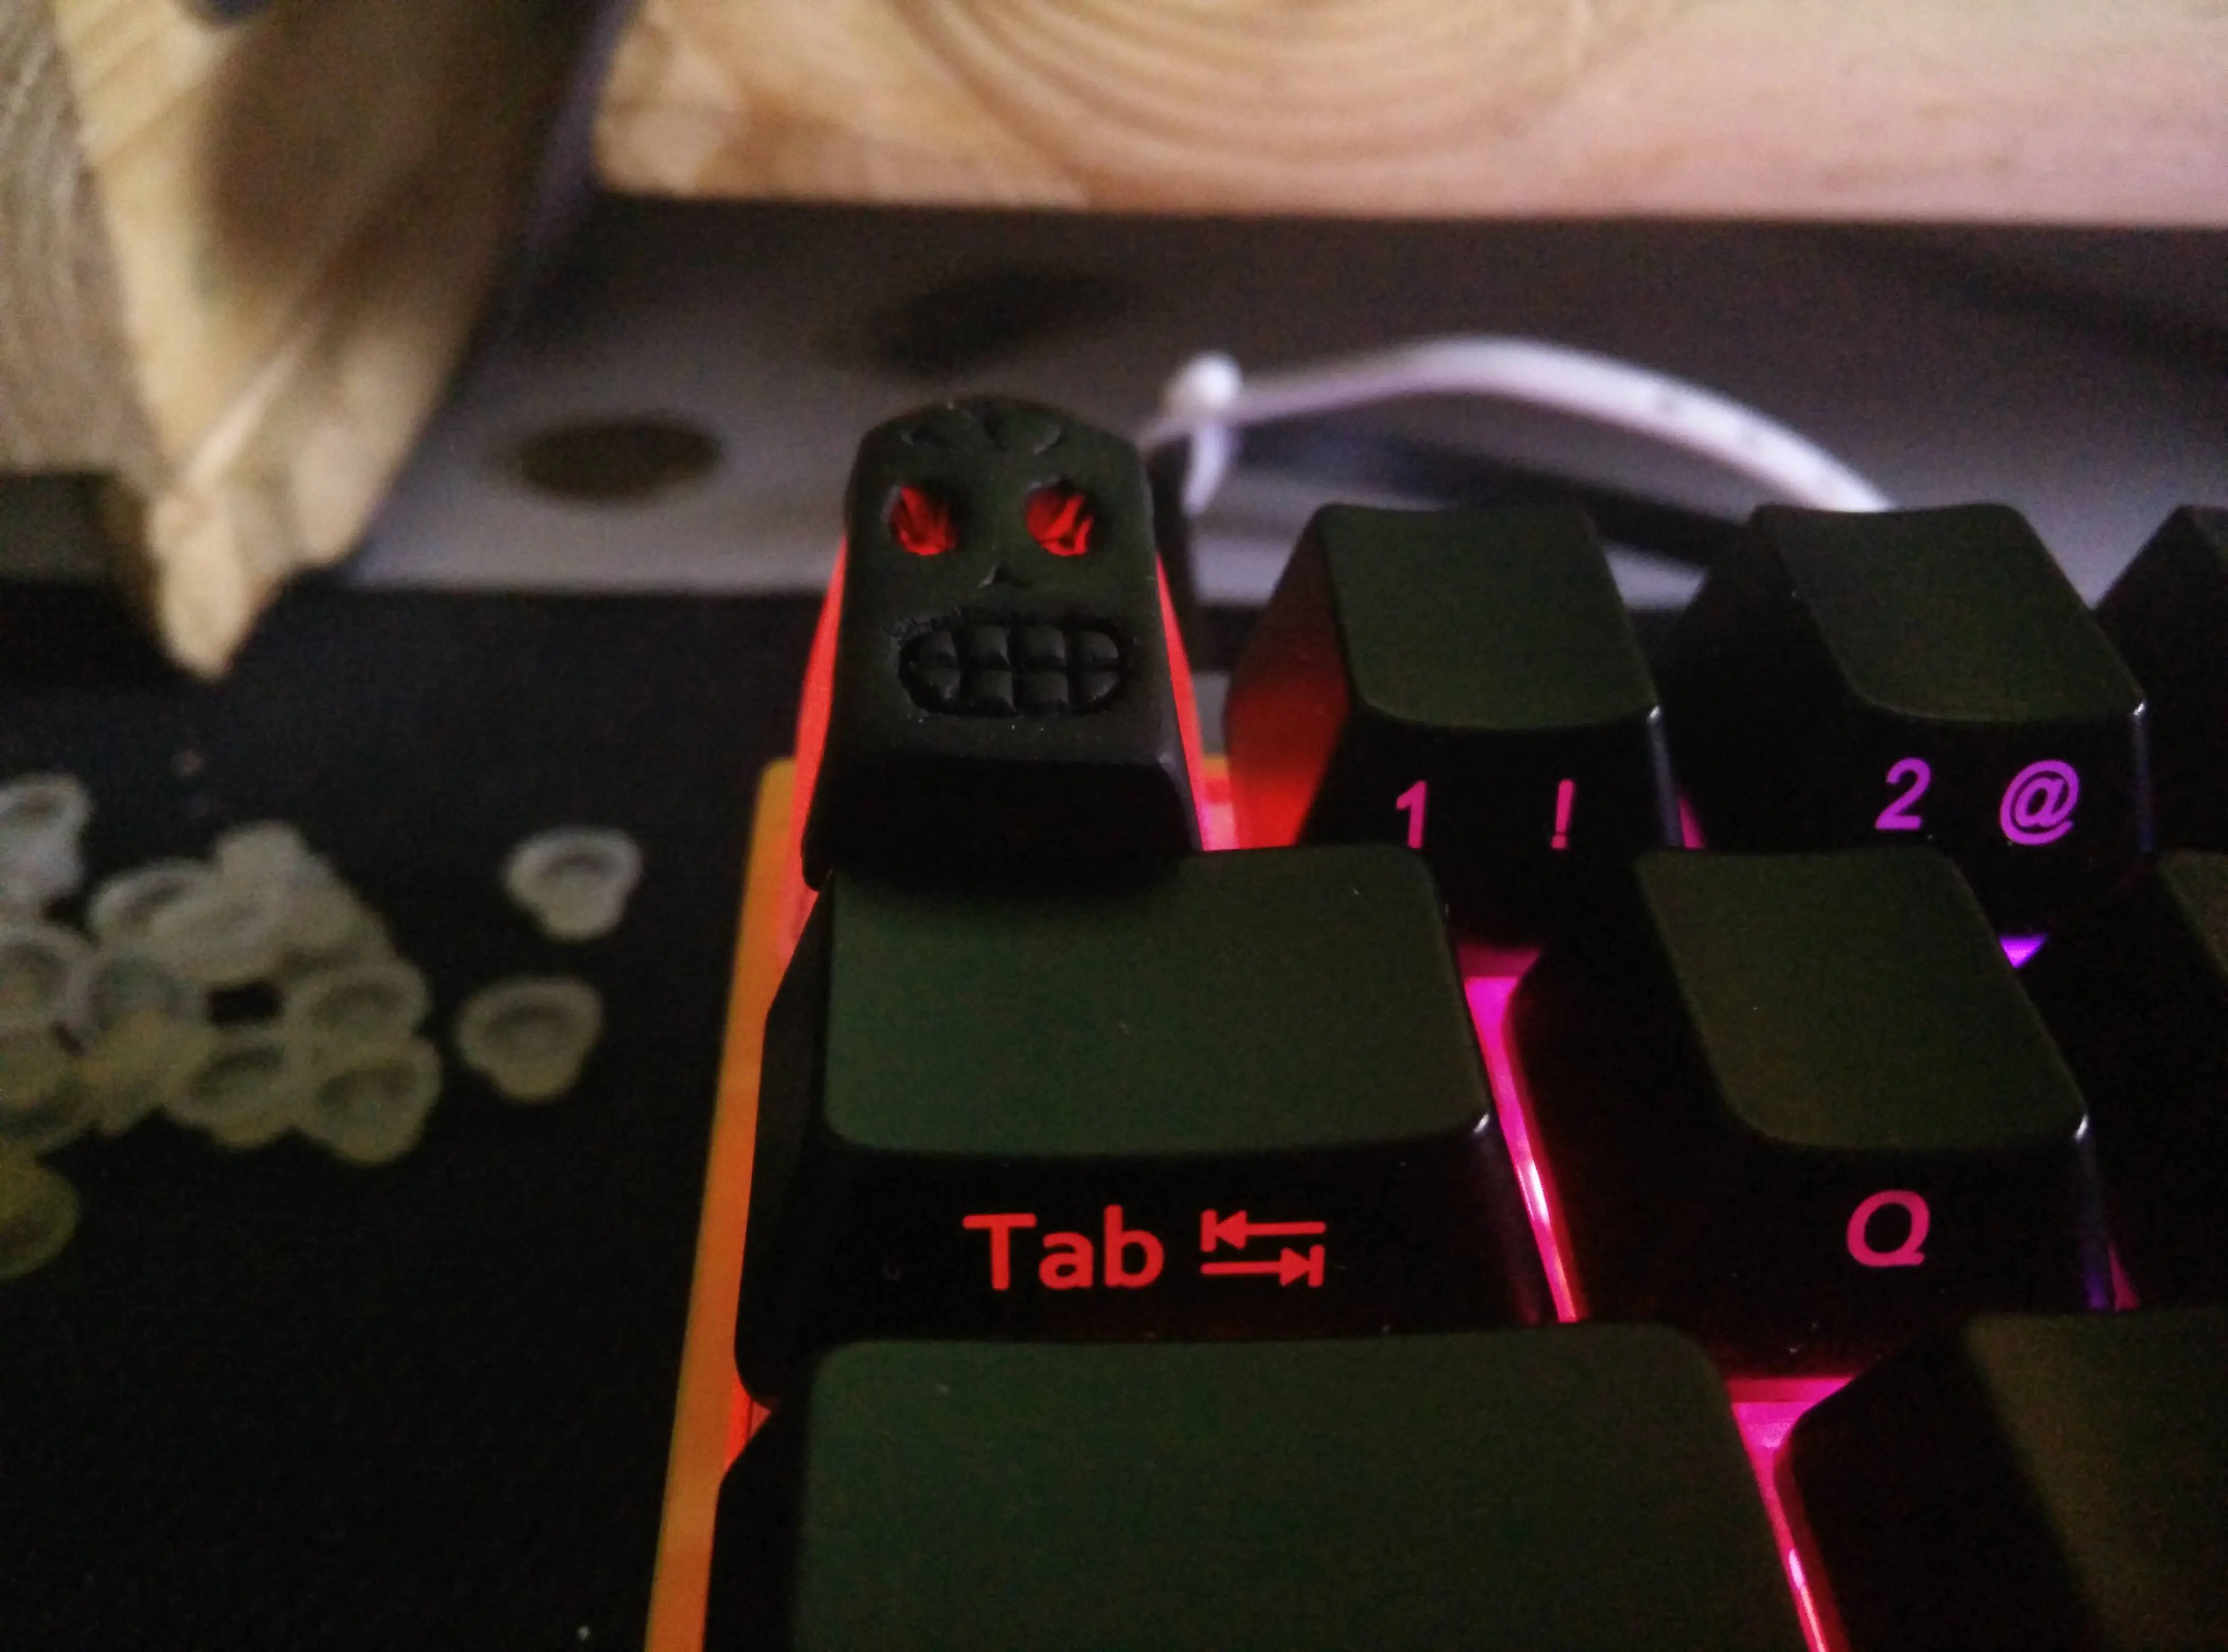


The logical follow-up to the monstrosity r/mk loved to hate. Made for r/mtgawesome, this 100% Primo! Sculpey, hand-sculpted piece of shartisan was the result of taking a dare much too far.
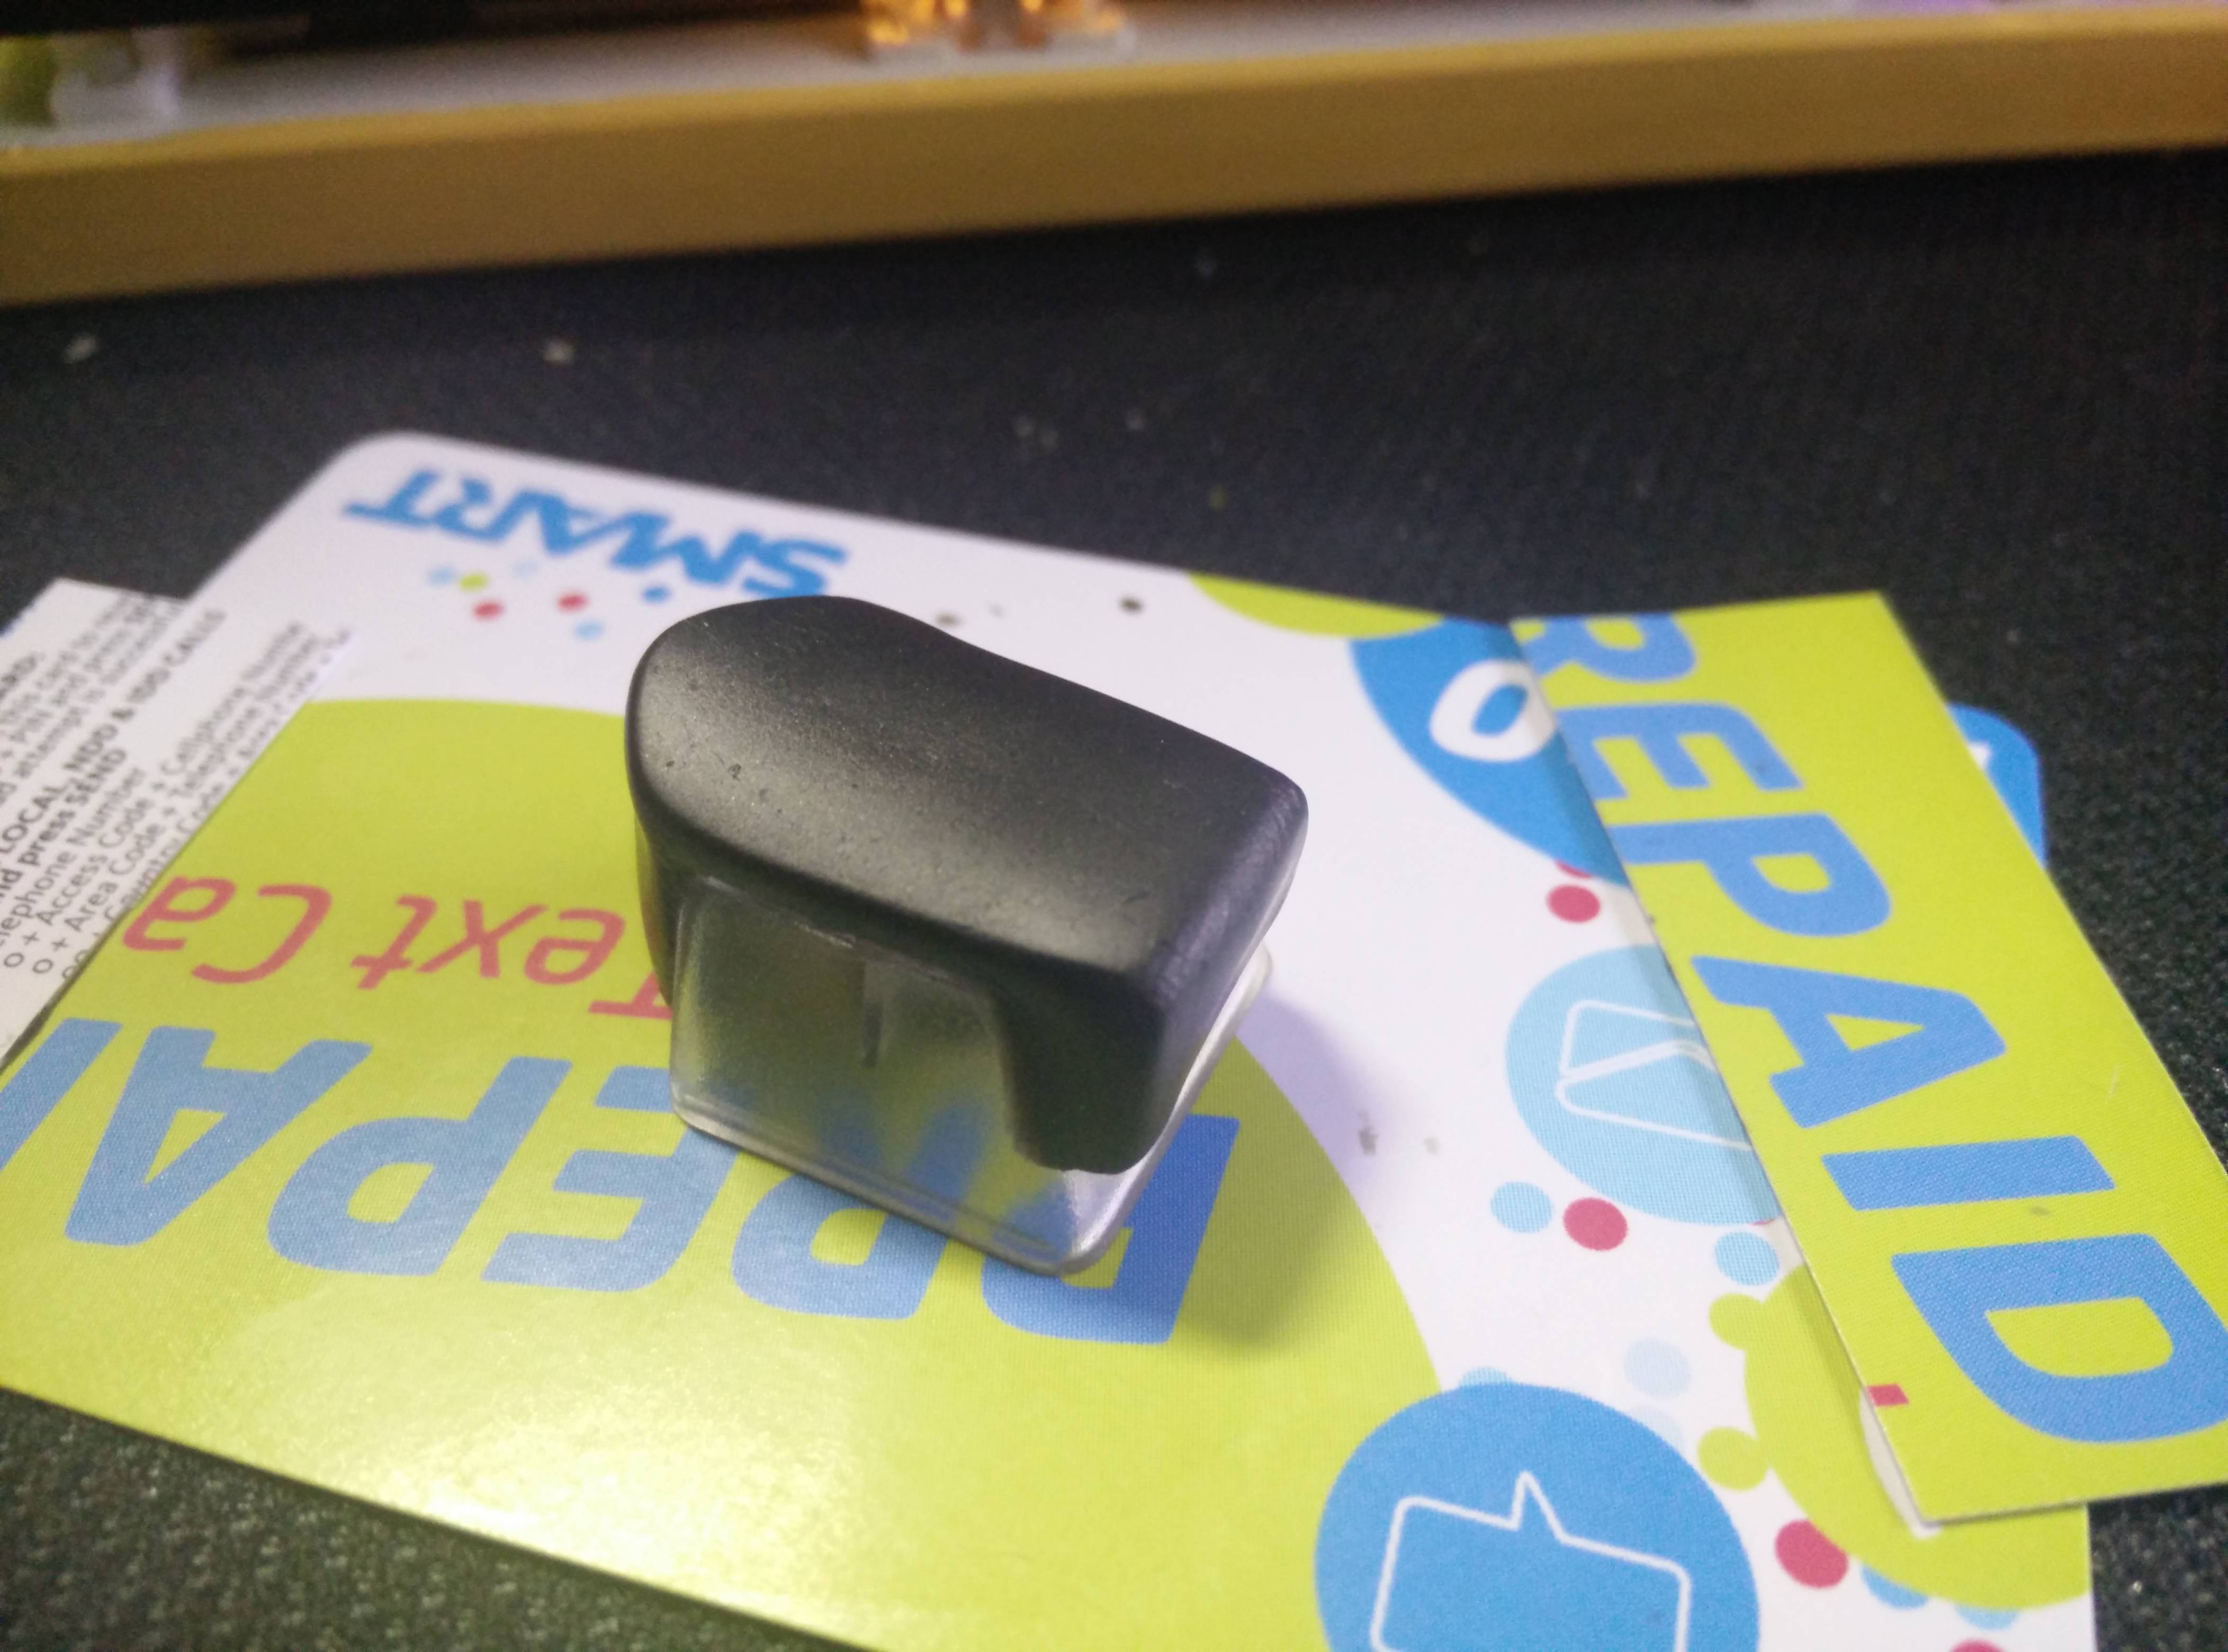
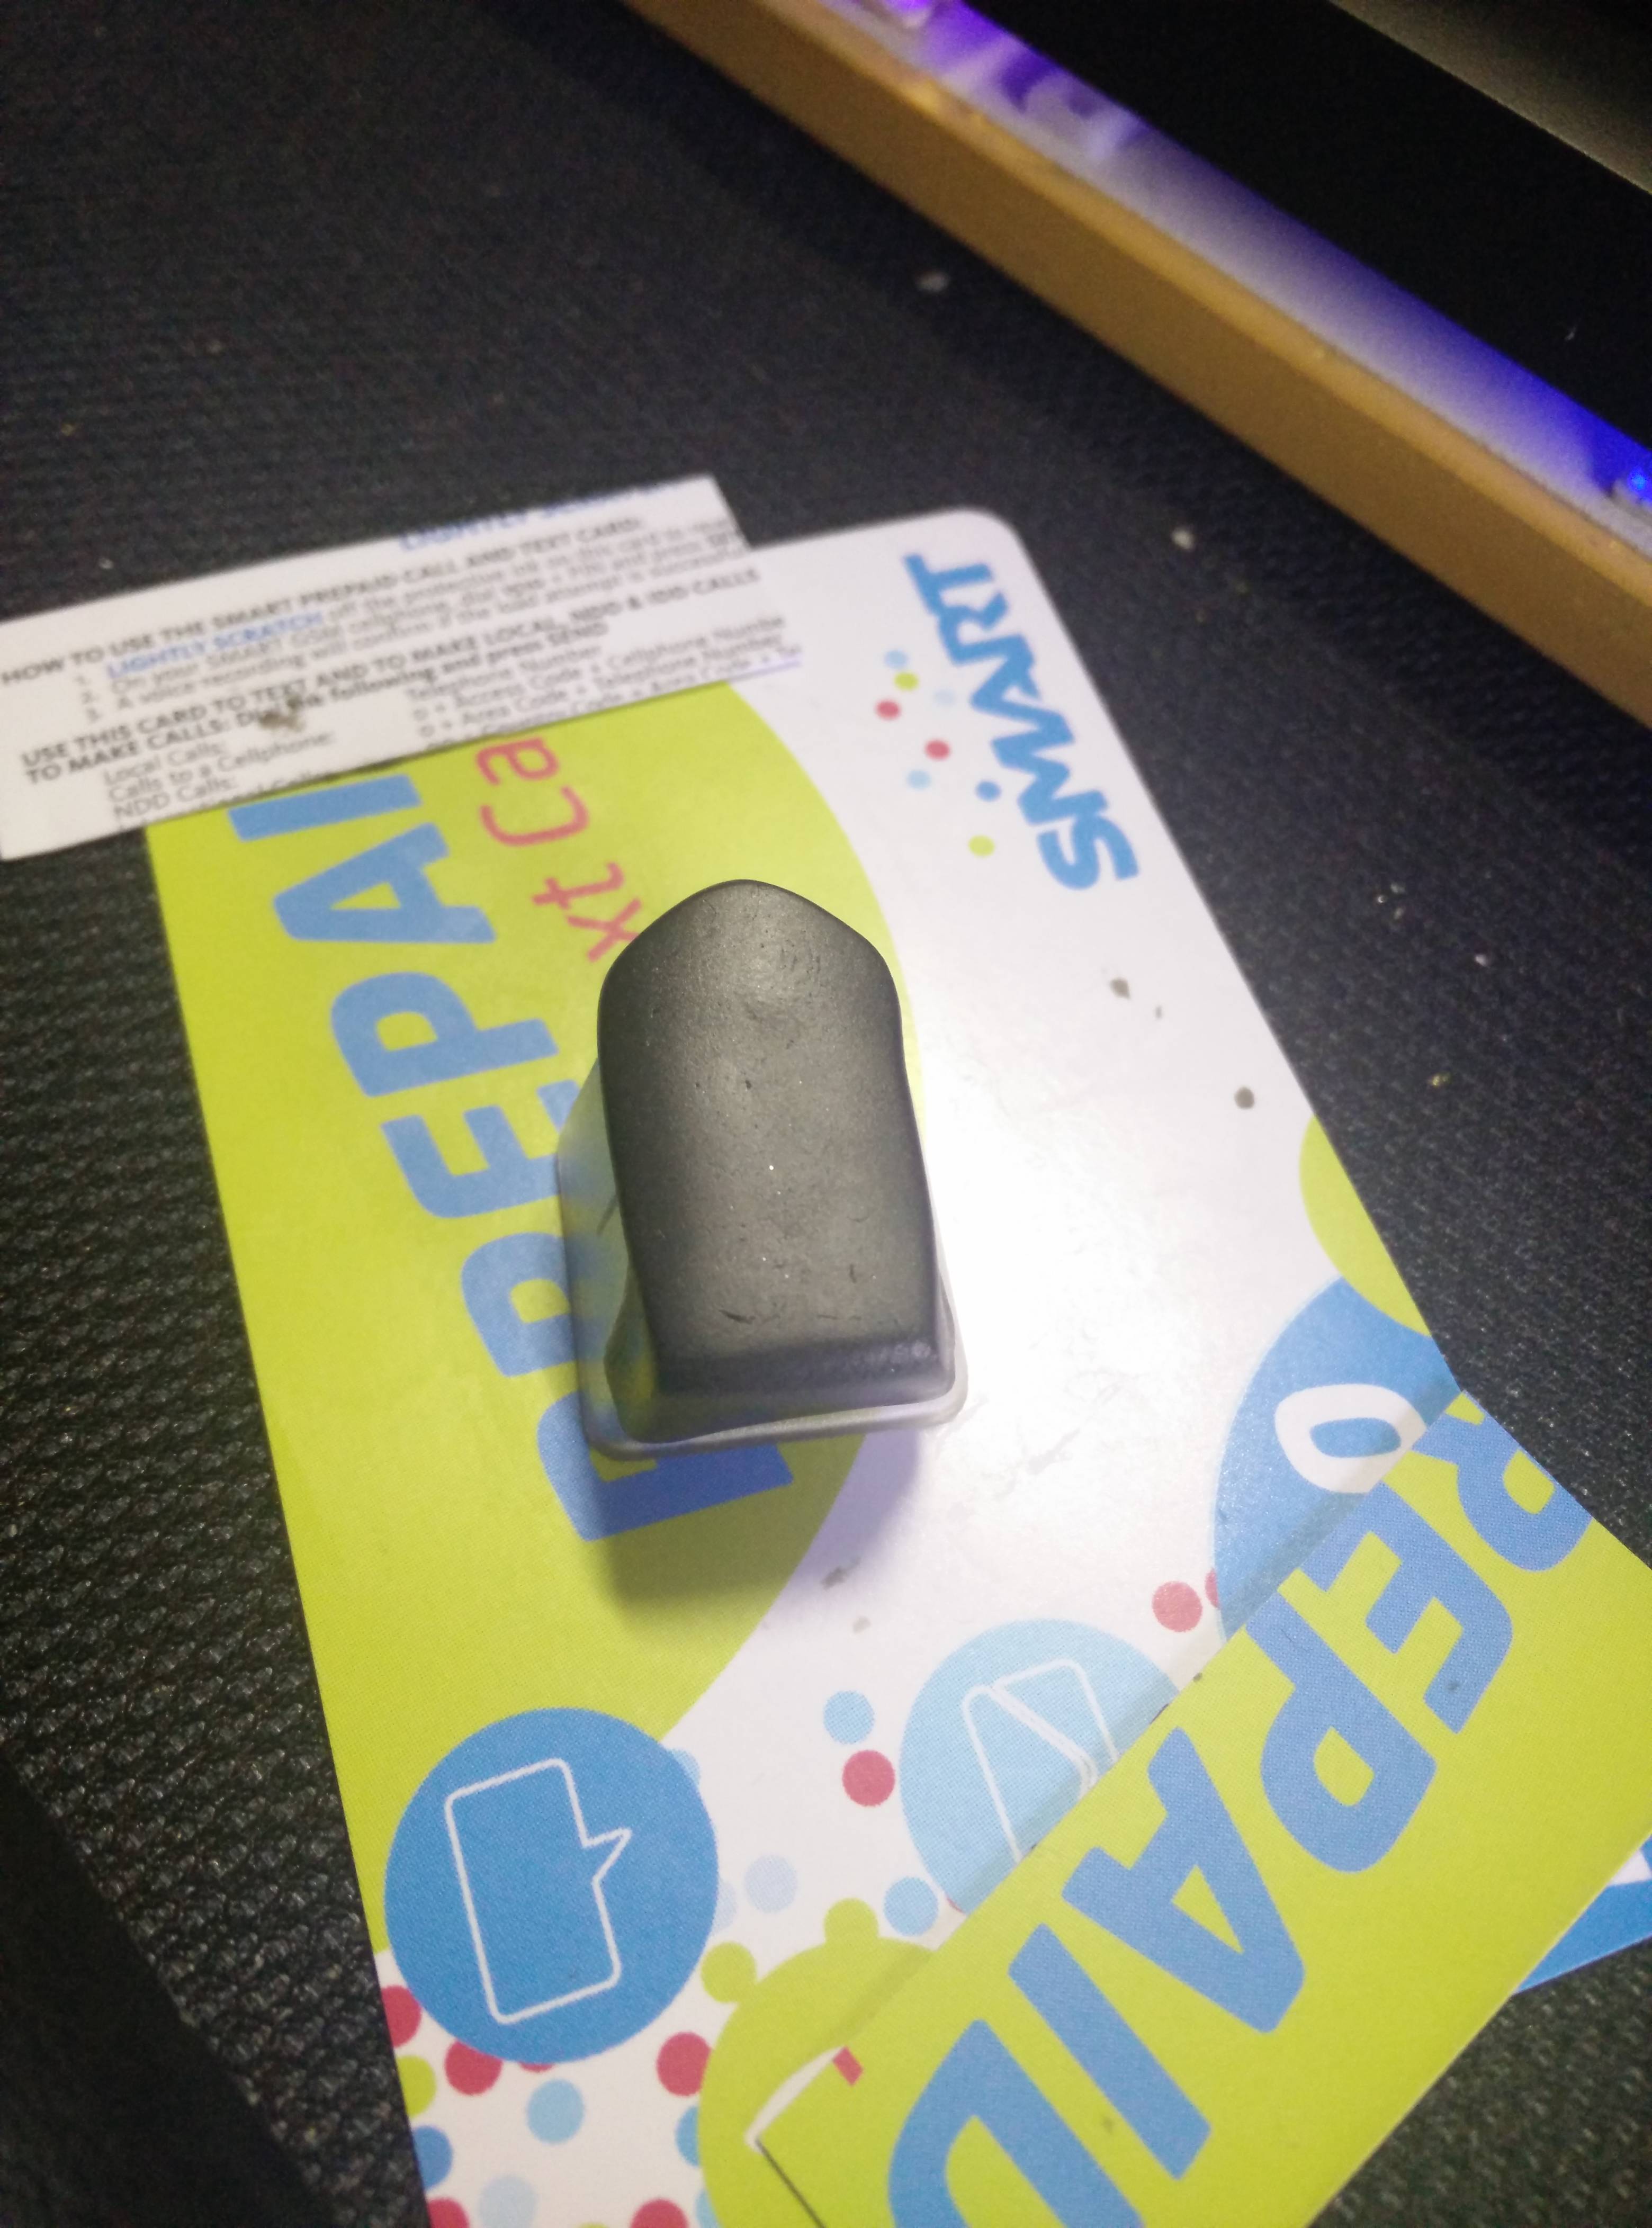
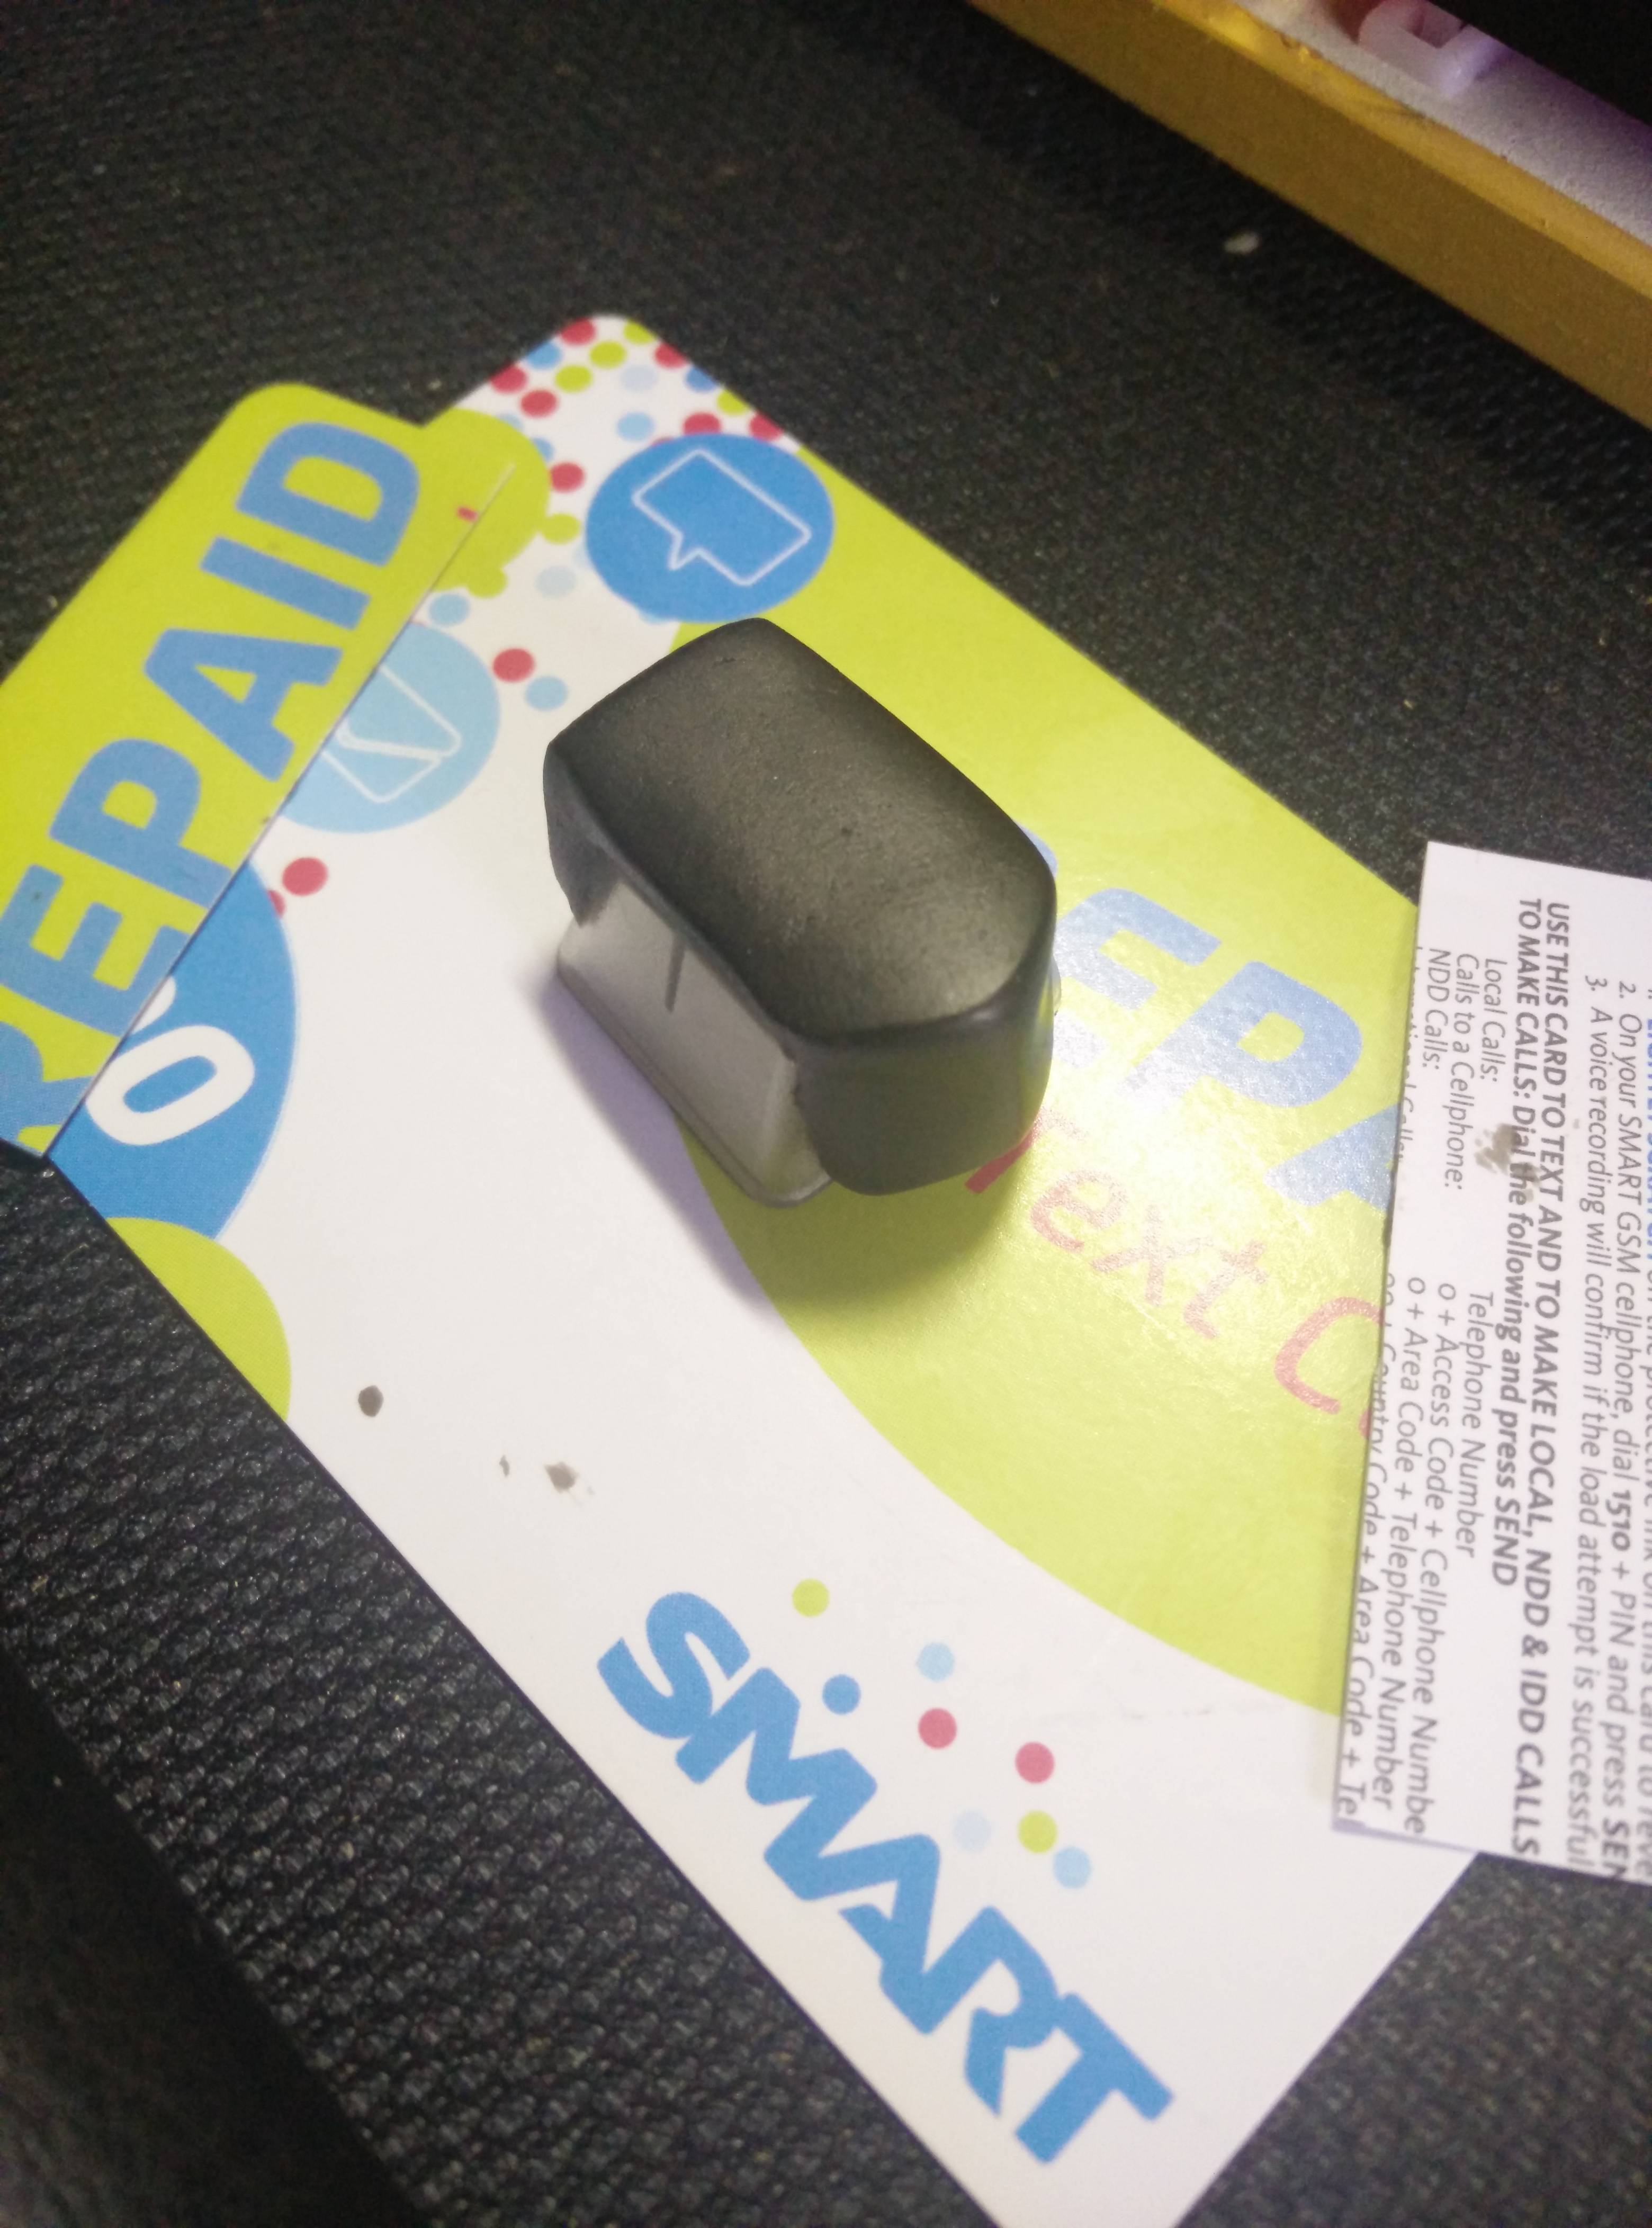
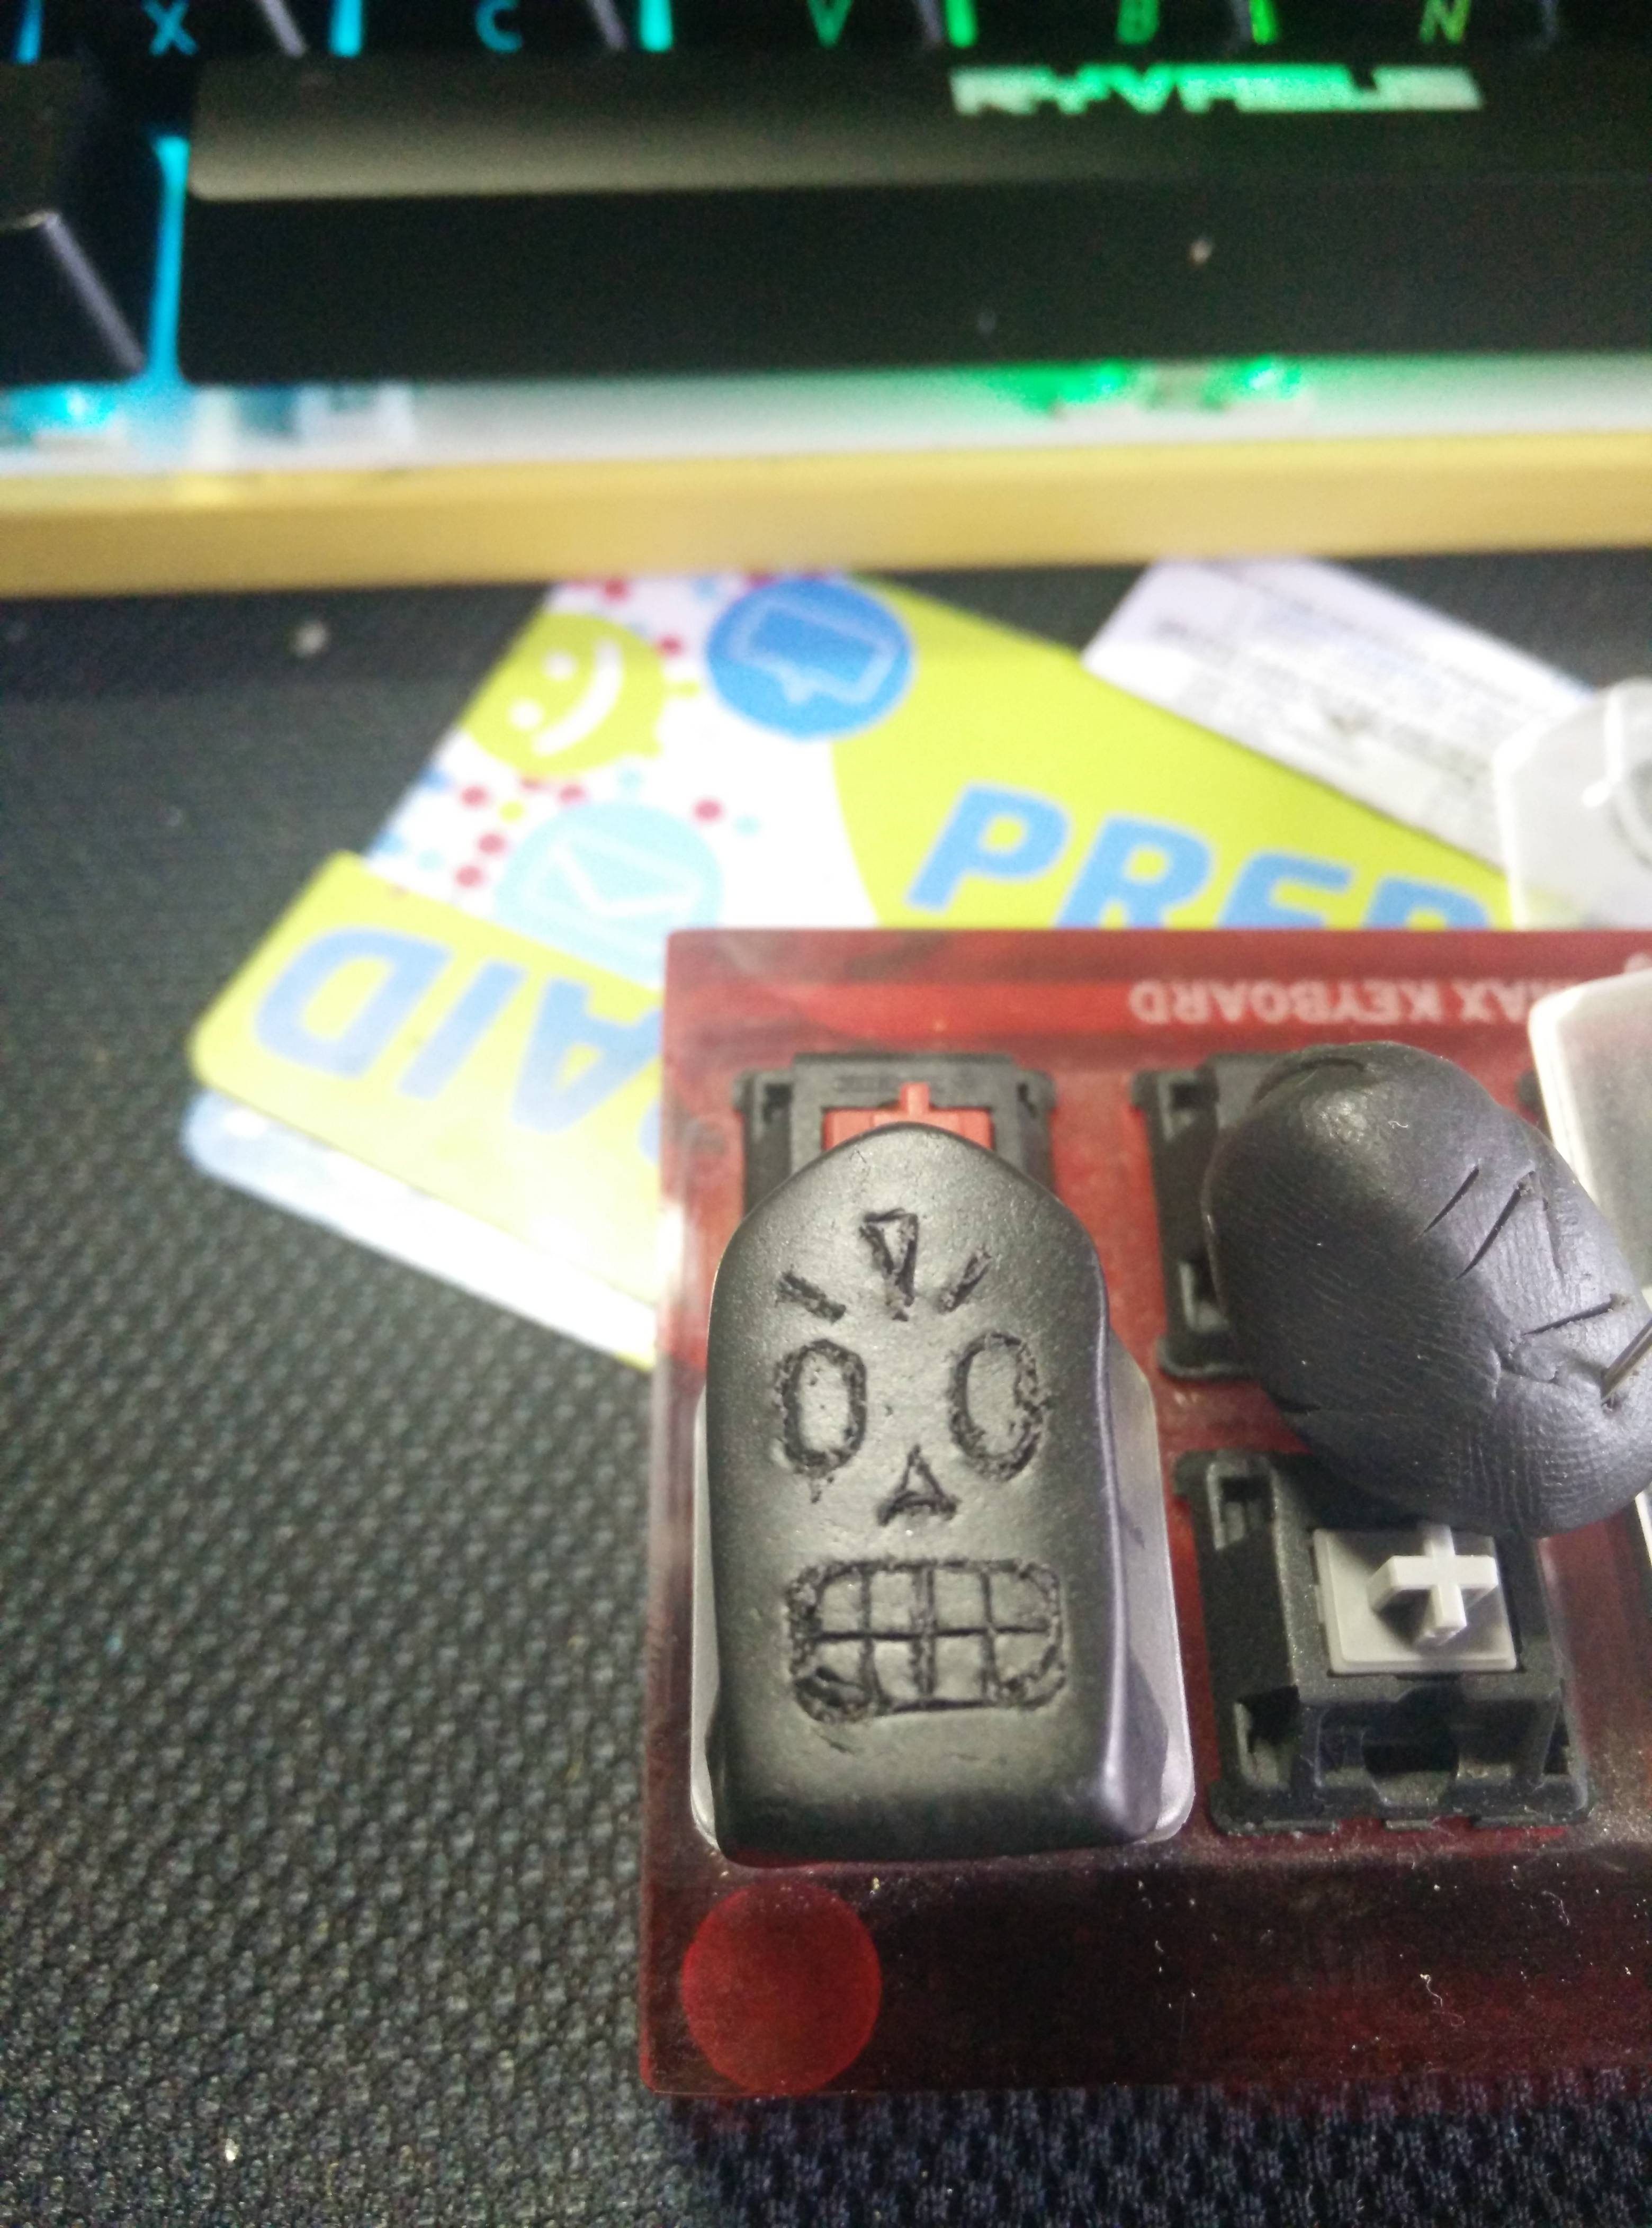
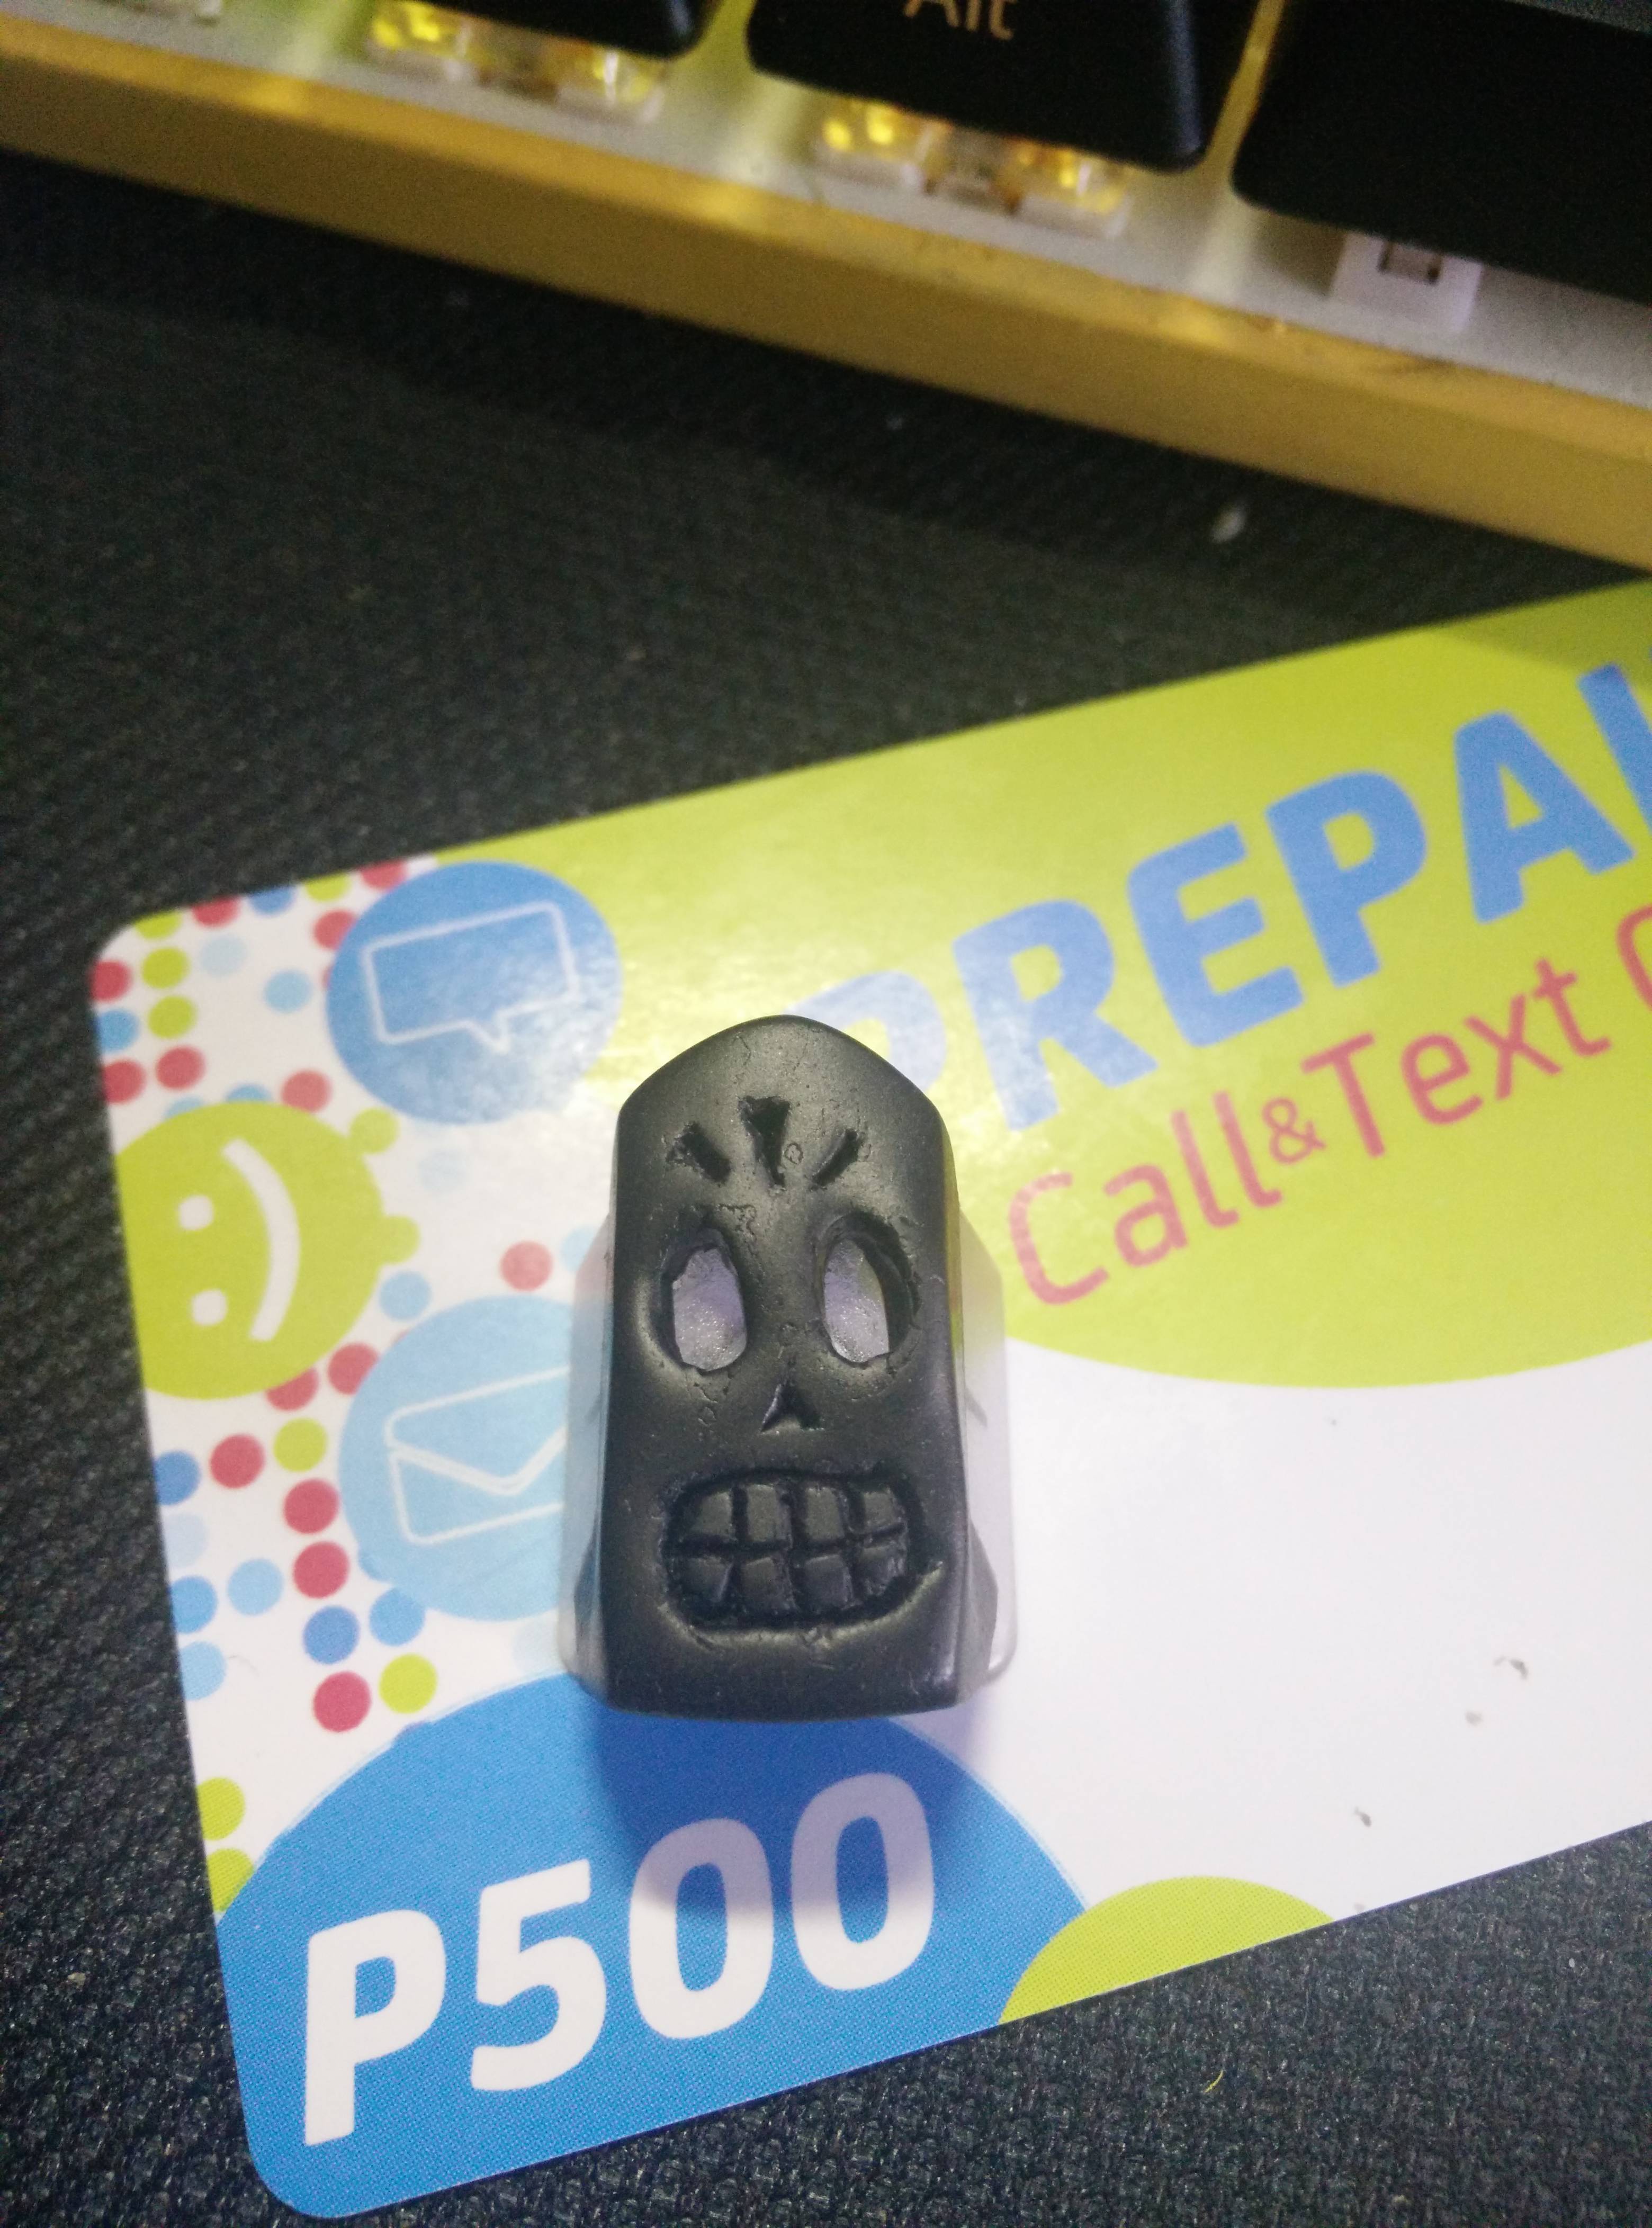
When working with Sculpey modelling clay, you quickly realize that this thing attracts more fingerprints than an iPad after a buffalo wing dinner. I’m not an artist and I don’t have specialty tools for crafting, so all I did was cut up a used phone card so I could handle and shape the clay without leaving my identity all over it. (Fig. 1–3.)
I used a threading needle to sort of pencil in the details that I’d be working around later with a jeweler’s flathead screwdriver. (Fig. 4 & 5.)
Now it’s time to add some definition to your etching. Your approach will differ from mine depending on what exactly you’re trying to design, the tools you have available, and the amount of patience in your reserves. What I did was I used the jeweler’s flathead to just carefully push into the etchings in the clay to make the grooves appear deeper. This also causes the clay to deform outward, not just inward, so I had to regularly go back and use the plastic calling card cutouts to push Manny’s face back into shape. (Fig. 6.)
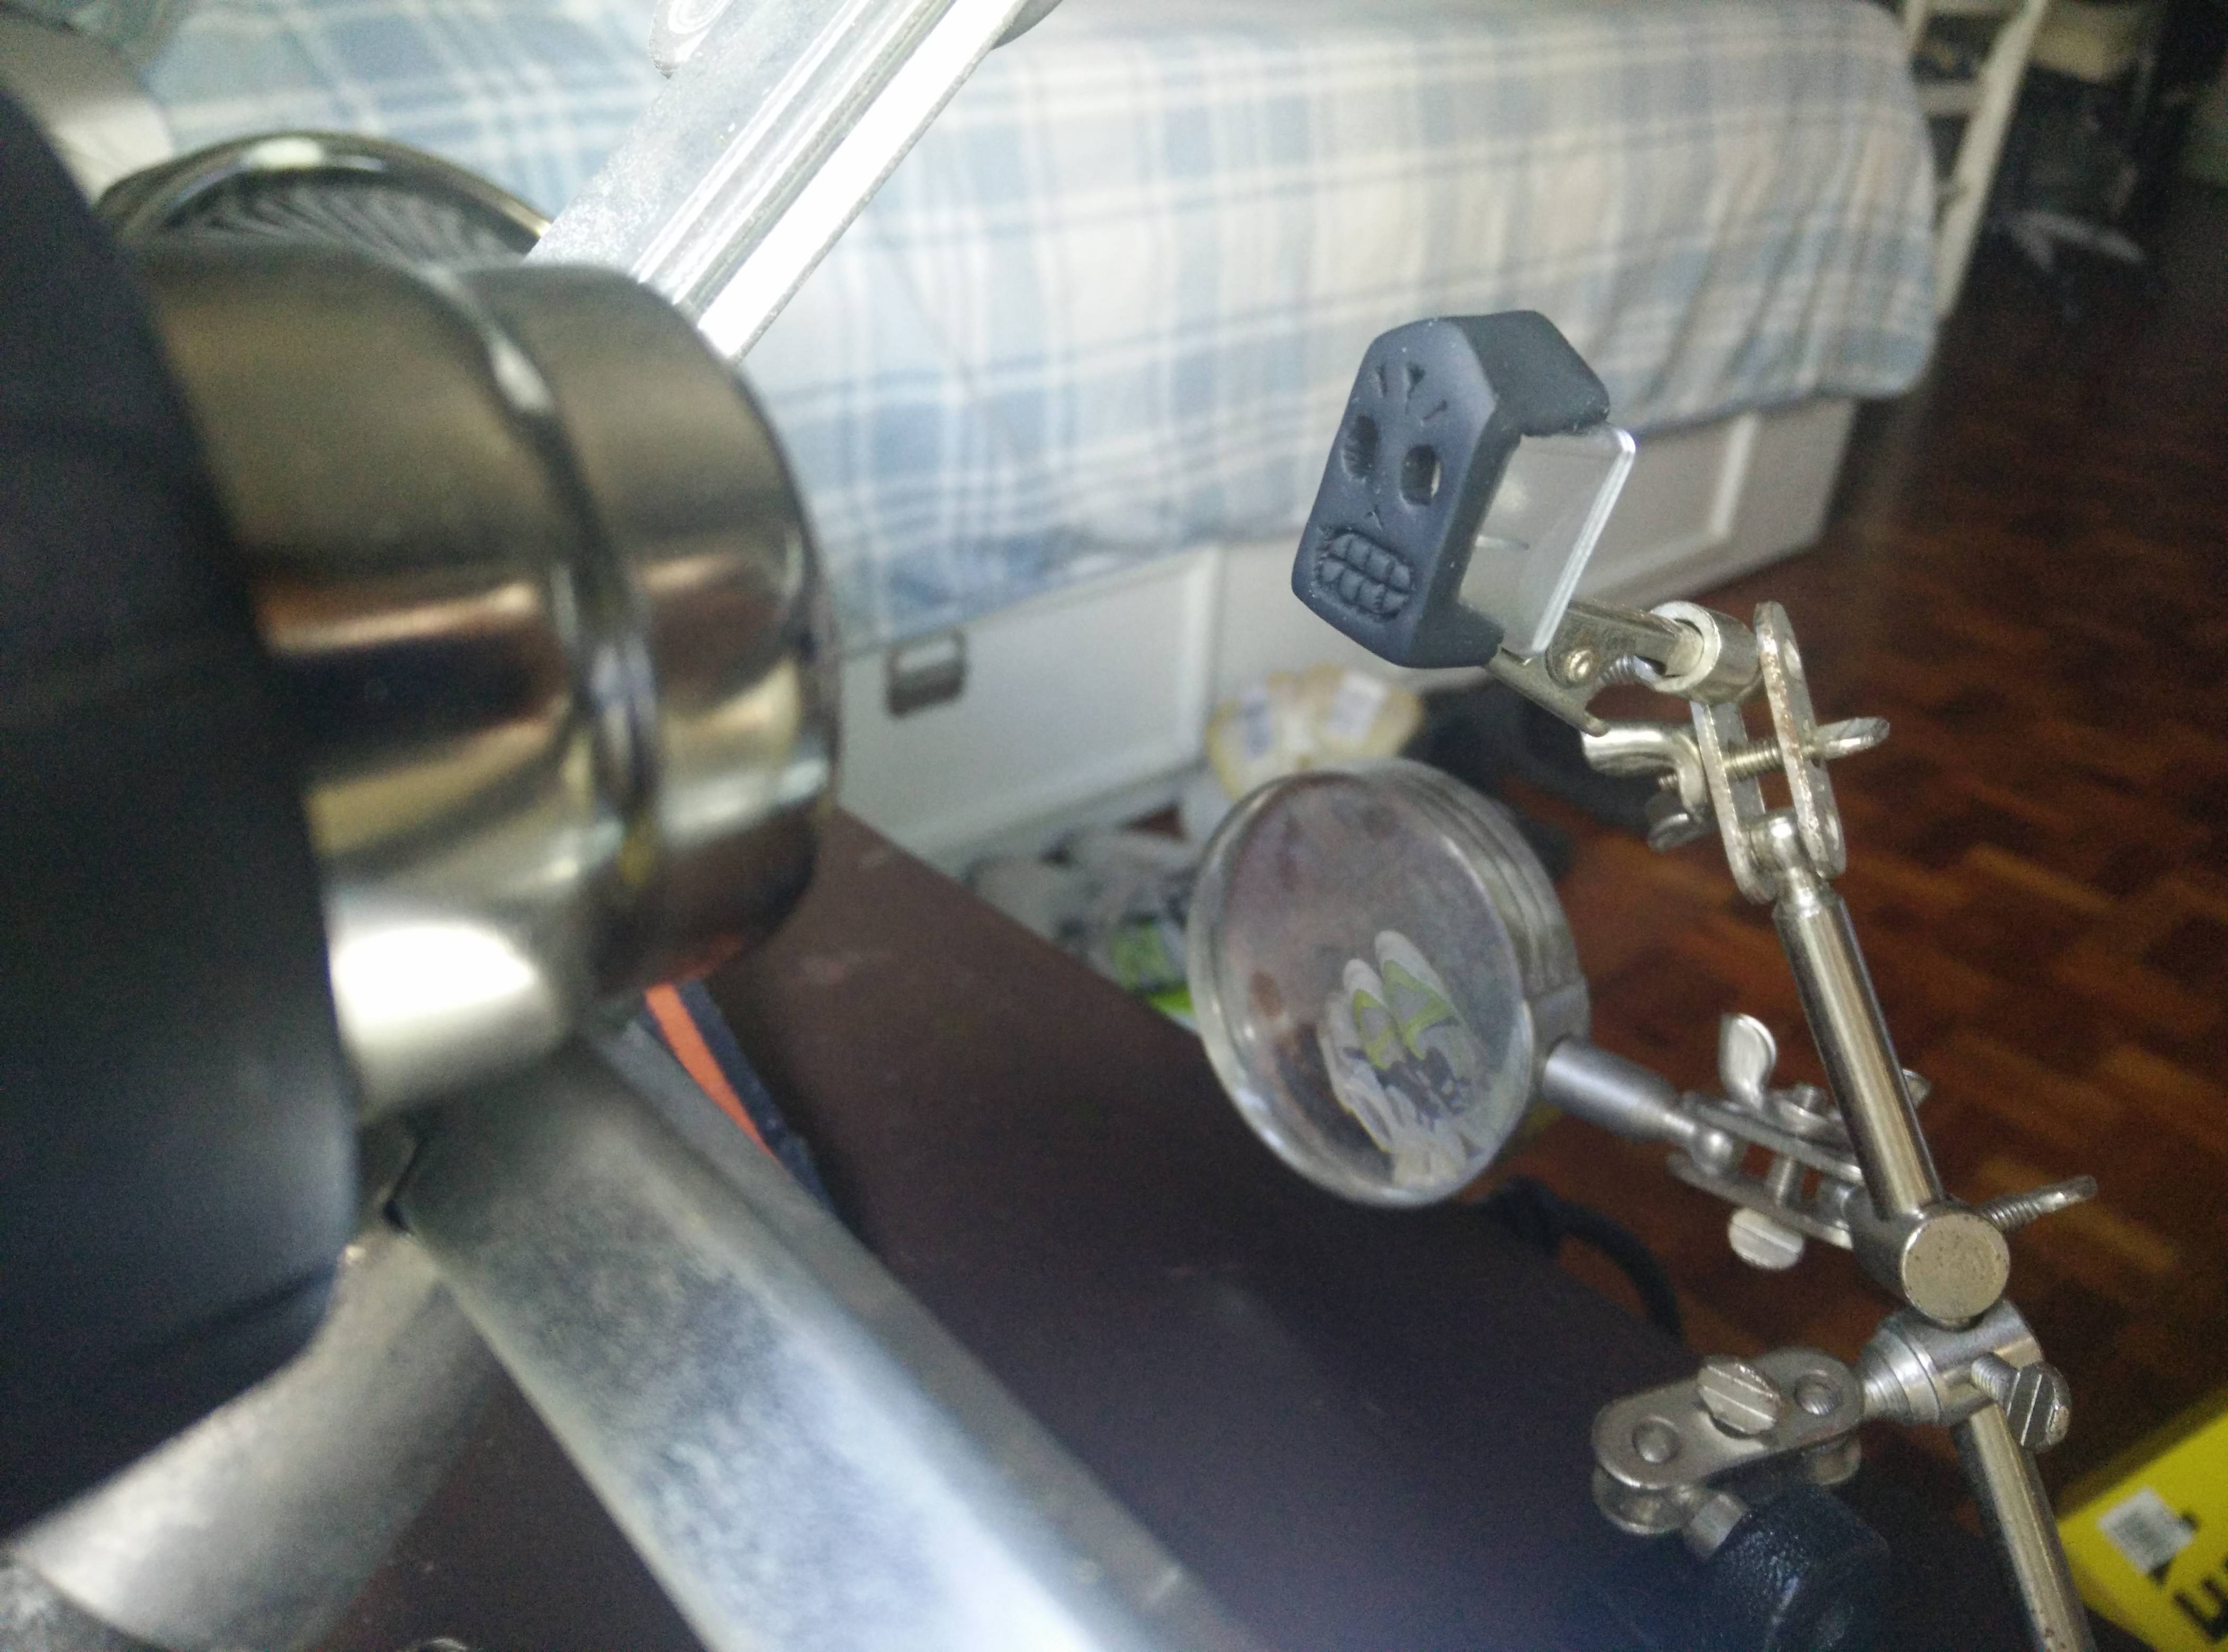
The exact temperature and time to bake your sculpture depends on your clay and the thickness of your work. For this project, I was able to achieve good curing by just blasting Manny with a heatgun at low-mid heat (I want to say about 130 degrees C?) for 30 minutes. (Fig. 7.)
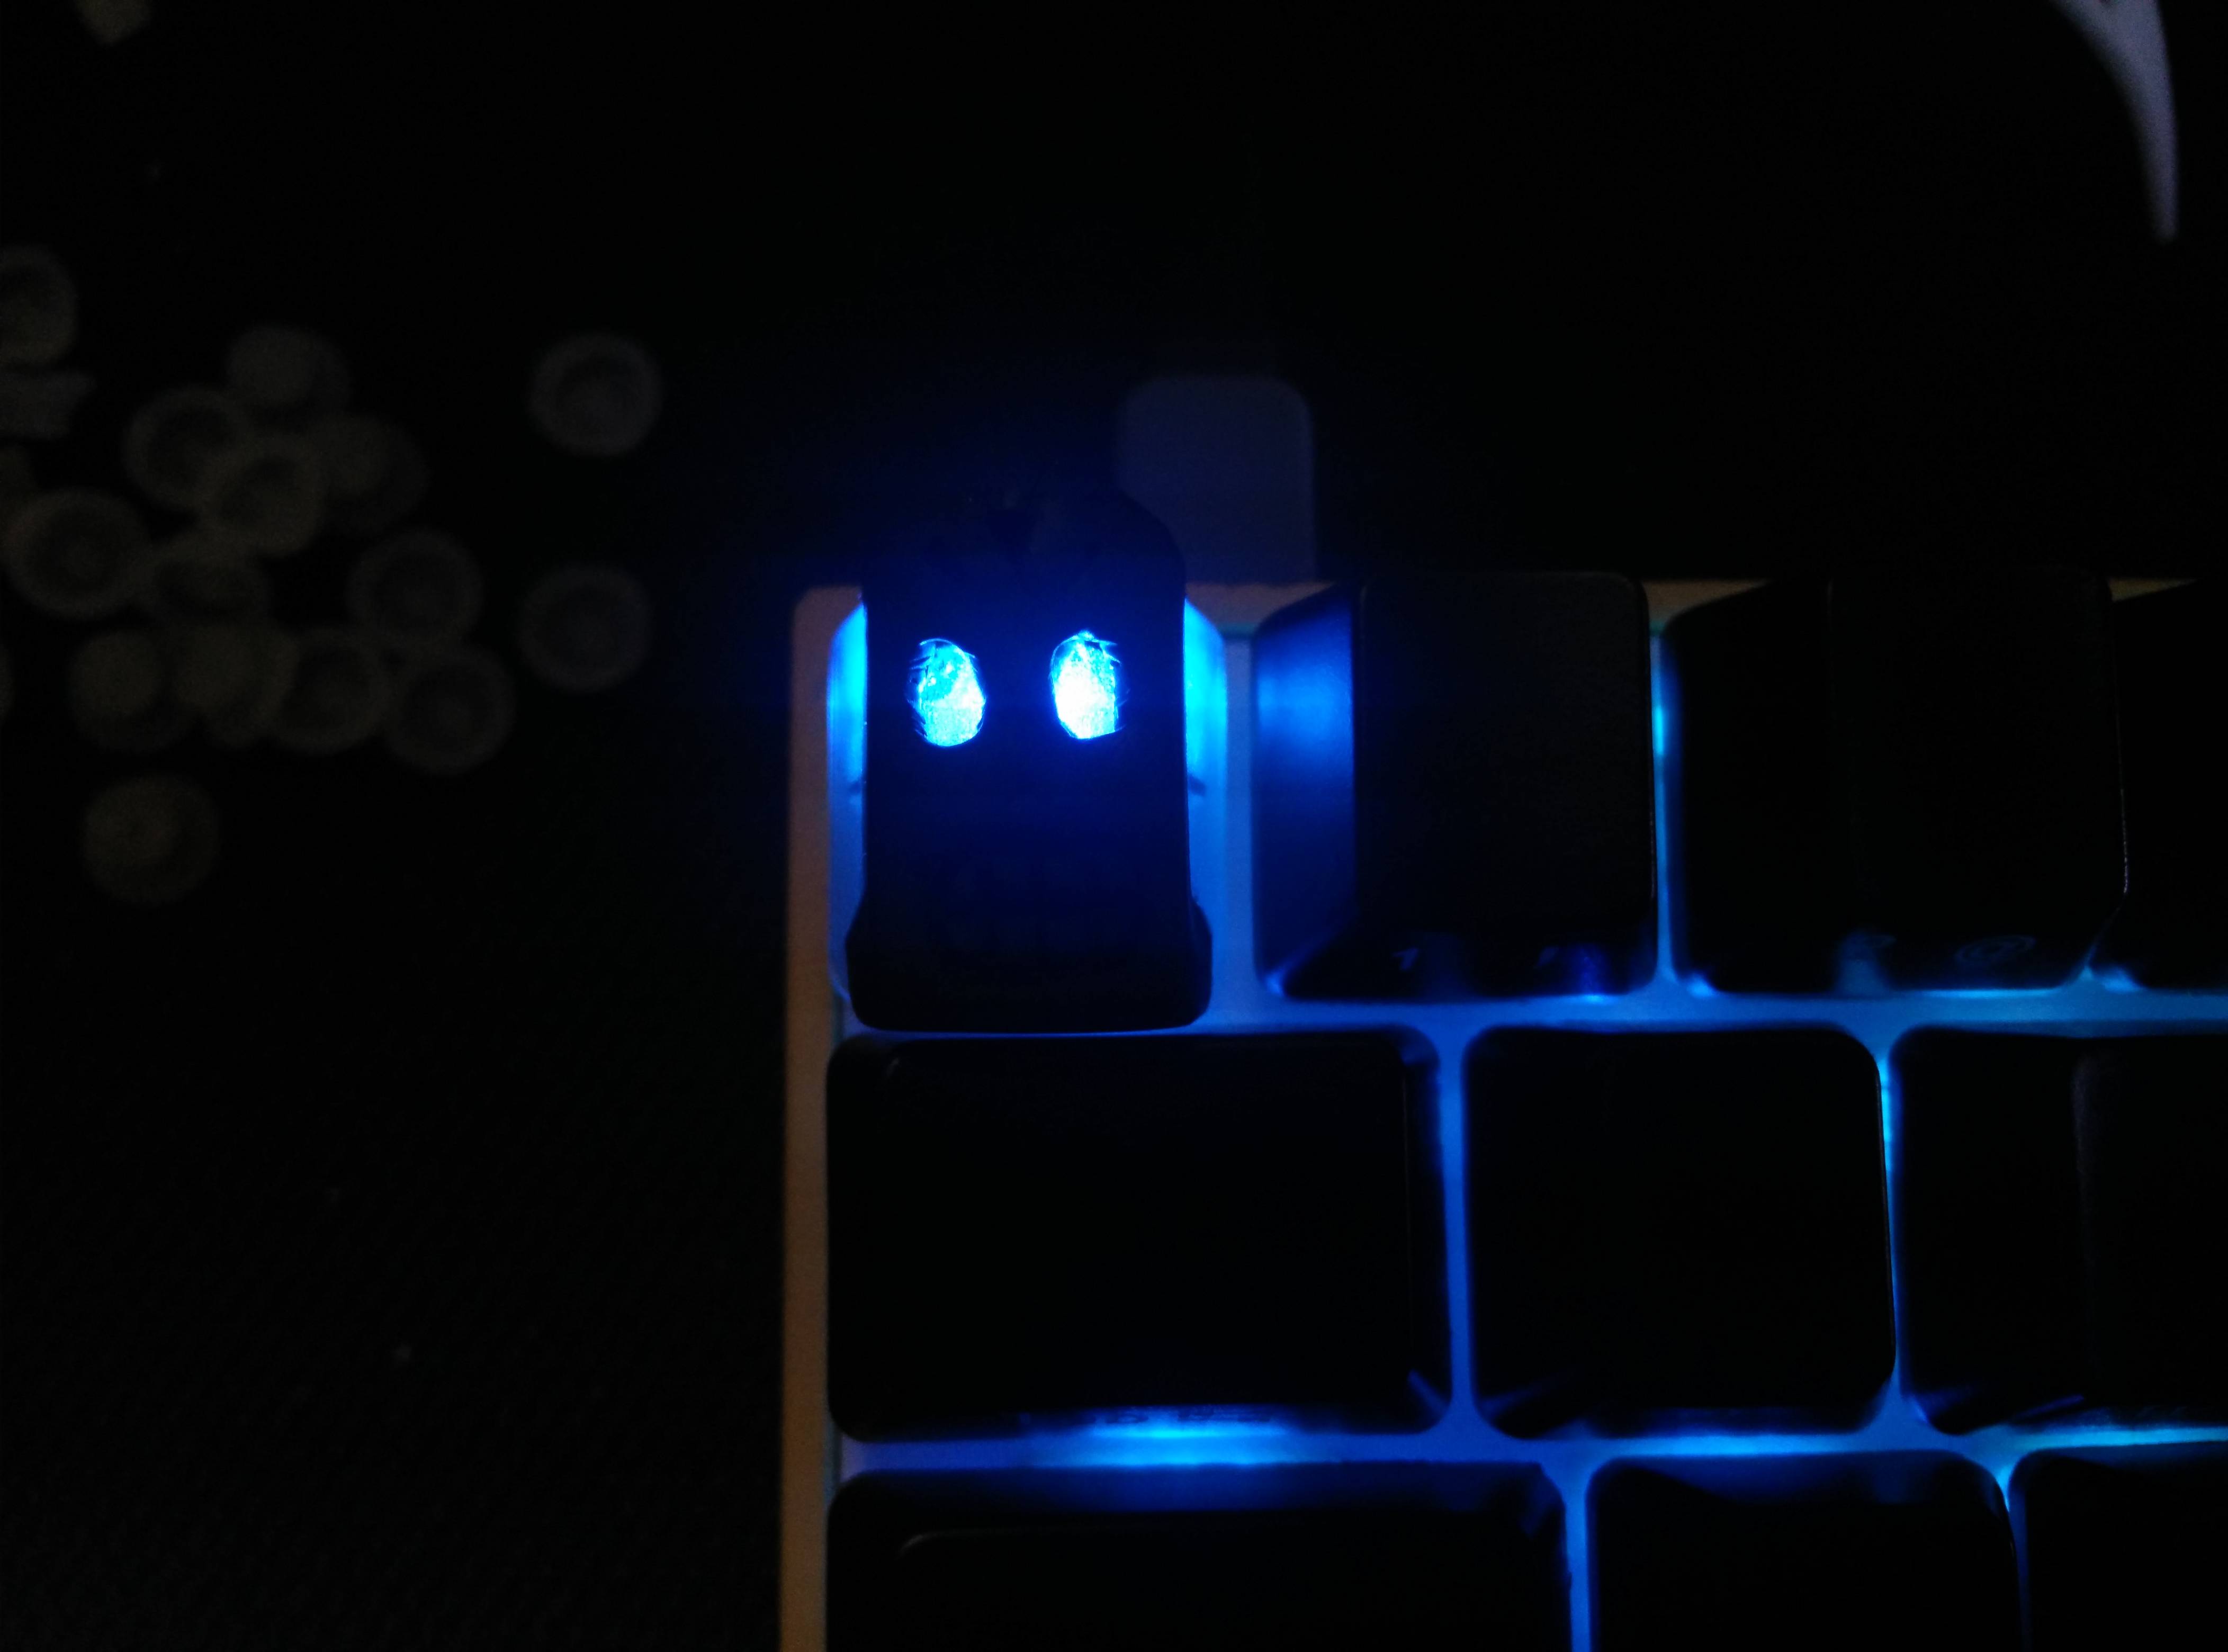
I suggest using a spare keycap as a base to model your shartisan on, so you don’t have to worry about the stem and you can fairly easily determine the size constraints you have to work with. In my case, I had a spare keycap from Max Keyboard’s switch/keycap tester. It happens to be transparent, so there’s a nice backlighting effect. (Fig. 8 & 9.)